
If you've got yellowed varnish, sticky residue, or a dull old finish on wood that's already been stripped once before, how to remove varnish from wood gets complicated fast in Palm Beach County homes. Sun, humidity, AC dust, and salt air all make the work harder, and the cleanup matters just as much as the stripping itself when you want a room ready for daily life, a landlord walkthrough, or a guest turnover.
Homeowners, renters, Airbnb hosts, and property managers usually want the same outcome, a wood surface that looks right again without wrecking the room around it. In South Florida, that means the finish comes off cleanly, the dust gets controlled, and the surrounding space doesn't end up covered in residue that clings to baseboards, vents, and window sills.
Table of Contents
- Why Varnish Removal Gets Complicated in South Florida Homes
- Sanding Wood Varnish Off the Right Way
- Using Chemical Strippers Without Burning the Wood
- Heat Guns and Solvents as Alternatives Worth Knowing
- The Three Minute Finish Test That Saves the Whole Project
- Cleaning Up After the Stripper the Right Way
- When to Call a Pro and How to Finish the Project Right
Why Varnish Removal Gets Complicated in South Florida Homes
A Jupiter homeowner calls because the varnish on a 1990s oak stair rail has started to peel near the landing. In a Delray Beach bungalow, the built-in bar still looks handsome at arm's length, but the finish is sticky in the corners and yellowed where the afternoon light hits. Those are the jobs that look simple until the first pass tells you the coating, the wood, and the room all have different needs.
Finish type comes first
The first mistake is grabbing a tool before identifying the coating. A professional varnish removal workflow starts with a solvent test, because shellac, acrylic, alkyd, polyurethane, and marine-grade finishes react very differently to common chemicals. One guide reports that denatured alcohol can dissolve spirit or shellac varnish in 30 seconds, rubbing alcohol can soften water-based acrylic varnish in 60 seconds, and mineral spirits may partially soften alkyd varnish in 2 minutes, while spar marine varnish resists all three (startwoodworkingnow.com).
That quick reaction tells you a lot. If the finish responds in under a minute, you're probably dealing with a lighter coating. If it doesn't, the job usually needs stronger stripping or sanding.
South Florida conditions change the job
Humidity slows drying, AC vents throw dust back onto fresh work, and salt air has already stressed a lot of coastal trim before you touch it. I've seen people strip a piece in a garage near the coast, then find fine dust and residue settling right back onto the surface before the new finish ever goes on. A useful local rule is to control the room as carefully as the wood, especially in homes where the windows stay shut and the AC runs most of the year.
For a broader moisture strategy, the local guide on how to reduce humidity in house fits the same problem, because damp rooms slow cleanup and make residue linger.
If you want a second perspective on repair timing and refinishing decisions, the Buff & Coat Hardwood Floor Refinishing guide is a solid reference for understanding how coating condition affects the approach.
Practical rule: don't choose the method until you know the finish. The wrong method wastes time and can scar the wood.
Sanding Wood Varnish Off the Right Way
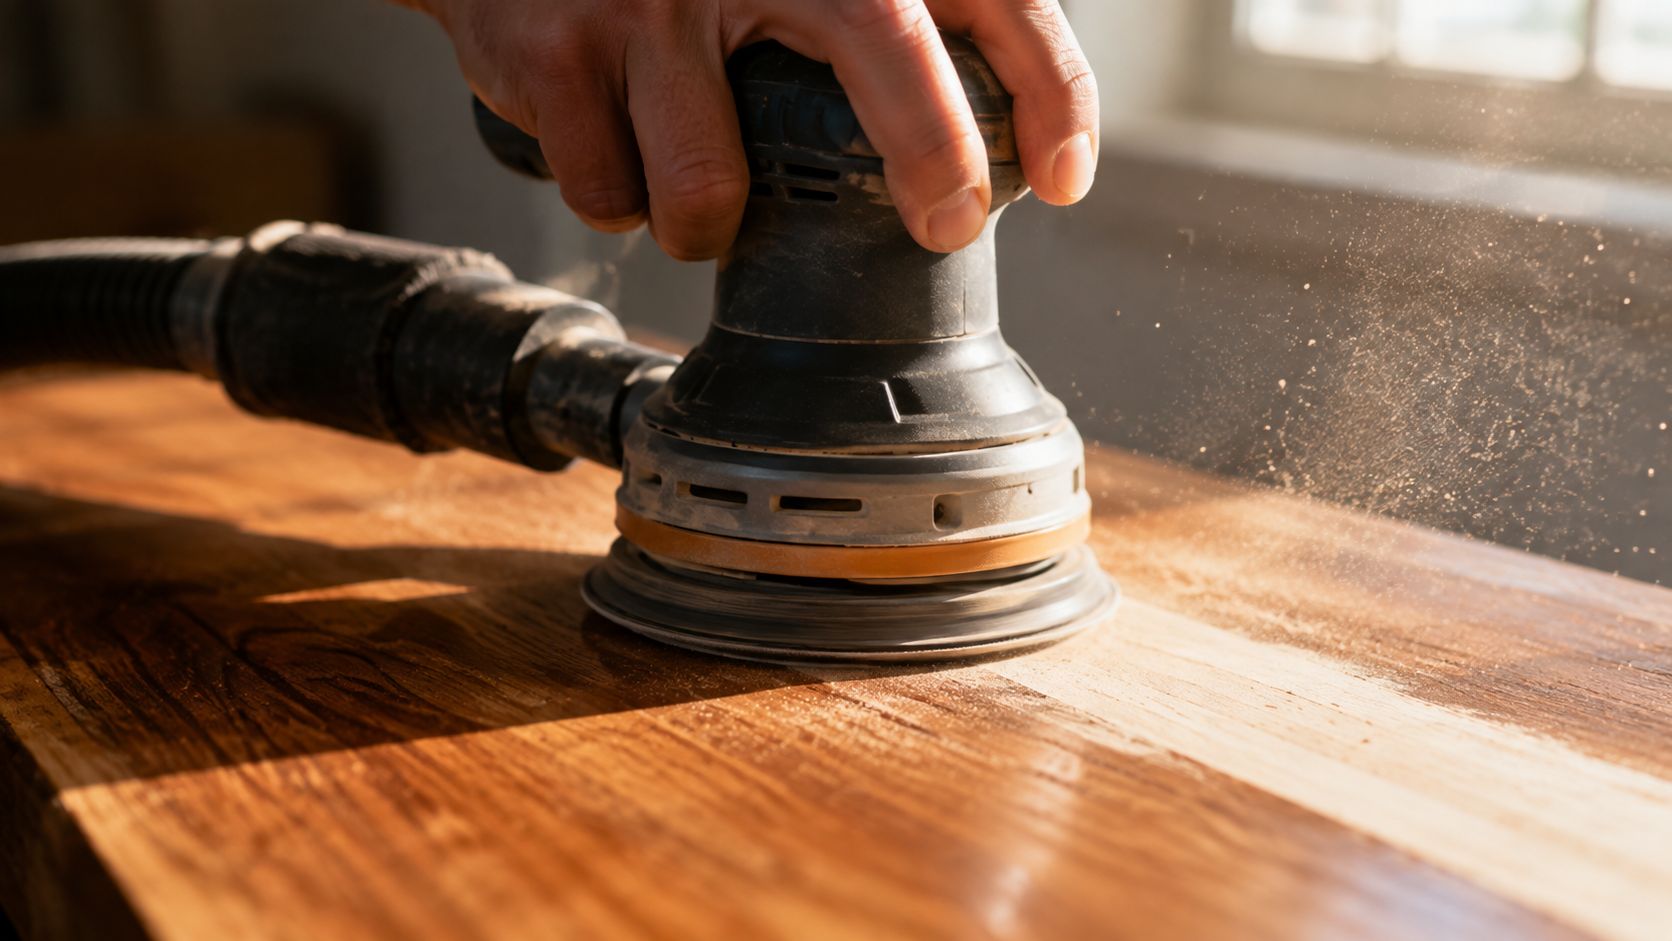
Sanding is the most familiar way to remove finish, and on flat surfaces it's often the fastest. It's also the messiest, because every pass turns old varnish into dust that lands on nearby trim, furniture, and floors.
Use the right sequence
On solid wood, start with 80-grit if the finish is stubborn, move to 120-grit for cleanup, and finish at 220-grit before staining. Sand with the grain whenever the surface allows it, especially on visible faces and trim. A random orbital sander saves time on tabletops and broad panels, while a belt sander removes material quickly but can get aggressive in a hurry.
Corners and carved edges are hand-sanding territory. On older Palm Beach condo cabinets with thin veneer, one pass too many can expose the substrate and create a repair that's harder than the original stripping job.
Dust control is part of the method
A sanding job isn't done when the finish comes off. It's done when the room is no longer coated in dust that's ready to land in vents, on window sills, and in the kitchen if you're working near an open-plan layout. That's one reason many floor pros keep sanding separate from final cleanup, and if you're looking for floor-specific maintenance guidance, the hardwood floor cleaning page lines up with that reality.
For a practical example of floor workflow, the sand and refinish a hardwood floor resource is useful context because it shows how sanding and refinishing sit together as one controlled process.
Thin veneer doesn't forgive mistakes. If the surface is old, detailed, or already worn thin, sanding should stay light and deliberate.
Using Chemical Strippers Without Burning the Wood
Chemical stripper handles detail, curves, molding, and carved work where a sander can't reach without damage. The trade-off is patience. The product has to stay wet long enough to soften the coating before you scrape, and in a humid South Florida room that can work in your favor or fight you, depending on how well you control the surface.
The dwell time has to match the coating
Apply a thick, even layer and cover it with plastic film so it stays active instead of flashing off too fast. For shellac or lacquer, the working window is roughly 30 to 60 minutes. For a single coat of oil-based varnish or polyurethane, one guide gives 2 to 4 hours, and for multiple layers, 4 to 8 hours or overnight. Another guide notes most chemical strippers need about 15 to 30 minutes, while a separate method for alkyd varnish uses 45 to 60 minutes under plastic film (woodwiki.org, aboutsanders.com).
That spread matters because the finish controls the pace. If the stripper dries out, it quits doing useful work and you end up chasing the same spot again. If it stays wet, the coating softens and lifts more cleanly, which is the goal on trim, built-ins, and other pieces where every scratch shows after refinishing. In Palm Beach County homes, I also watch for the cleanup problem that starts here. Stripper residue, softened varnish, and fine dust can cling in humid air, then settle back onto the wood or nearby surfaces if the room is not cleared properly.
Scrape gently, not hard
When the finish peels cleanly, scrape at about 30 to 45 degrees with the grain. A metal scraper works well if you keep the pressure controlled, but it can gouge the wood fast if you force it. Plastic scrapers are safer on delicate surfaces, though they are less aggressive on thick buildup and may need a second pass on stubborn spots.
After stripping, let the wood dry at least 24 hours before refinishing (woodwiki.org). That drying period matters more in South Florida than a lot of homeowners expect, because trapped moisture and leftover residue can leave the next coat looking cloudy or patchy.
For occupied homes, soy-based and methylene-chloride-free strippers are often the safer indoor choice because they are easier to manage around living spaces. That still means ventilation, gloves, and patience, especially with the AC on and the windows shut. It also means a proper post-strip cleanup, because once the coating is off, the mess left behind is what usually causes the next headache. A lot of homeowners can handle the stripping itself, then book a professional cleaning service to clear the residue, dust, and chemical film before refinishing starts.
Heat Guns and Solvents as Alternatives Worth Knowing
Not every project needs a bucket of stripper. Some jobs move faster with heat, and some only need a light solvent touch to clean residue after the main removal.
Heat is fast, but it punishes mistakes
A heat gun softens old varnish quickly and lets you peel it off in sheets on doors, trim, and outdoor furniture. It's useful when the coating is thick and you can work safely in a controlled area. The downside is simple, heat can scorch the wood, and it's a bad fit near old paint, tight corners, or anything flammable in a closed-up Florida room.
Solvents are gentler, but they're not a full stripping plan
Mineral spirits and denatured alcohol work well as lighter solvents. They're useful for residue, thin finishes, and cleanup after the main stripping pass. They're slower and softer than heat, which is exactly why they make sense on delicate surfaces where you don't want to remove more than the finish.
A simple decision frame helps here.
- Choose heat for thick layers, quick peeling, and sturdy doors or trim.
- Choose solvents for light residue and final wipe-down work.
- Choose gel stripper for detailed furniture, carved profiles, and most indoor refinishing jobs.
In South Florida, ventilation matters twice, once for the product and once for the AC-driven room you're working in.
The Three Minute Finish Test That Saves the Whole Project
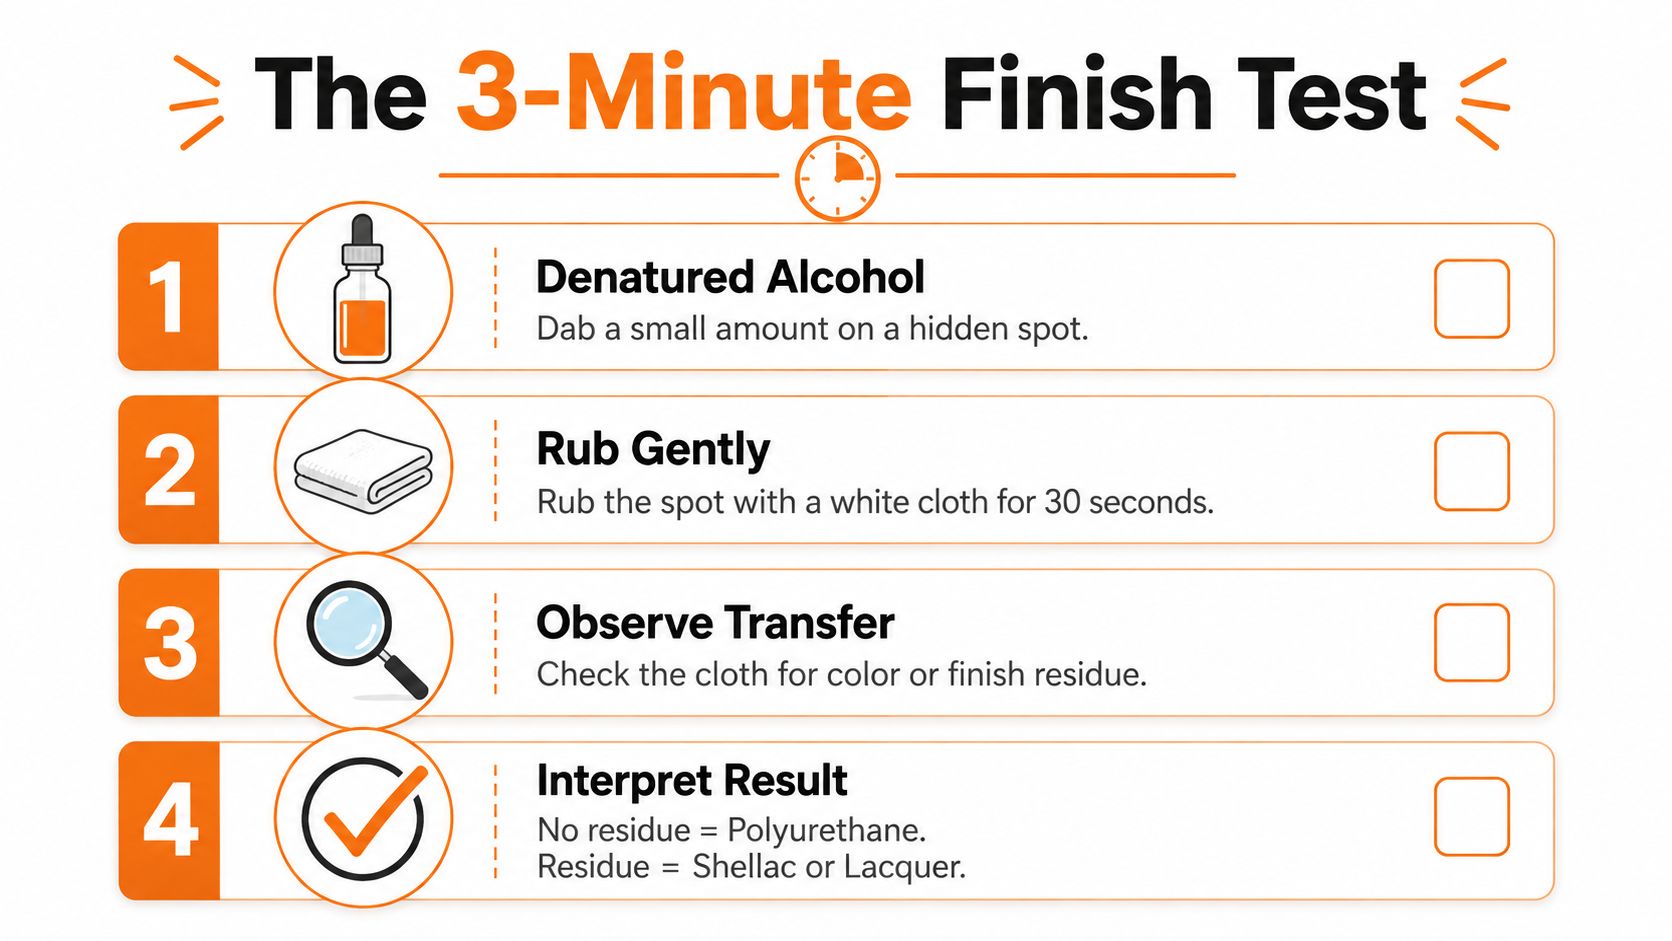
A hidden-spot test saves more projects than a new tool ever will. Dab the finish with denatured alcohol on one spot, rubbing alcohol on another, and mineral spirits on a third, then watch how fast the coating reacts.
Read the response, not the label
If the finish dissolves in under a minute, it's likely shellac or water-based acrylic. If it needs minutes or barely reacts, you're probably looking at alkyd, polyurethane, or a more durable marine-grade coating. That small test keeps you from buying the wrong stripper or sanding harder than you need to.
A 1980s parquet floor, a built-in wet bar, or a patio table that's been refinished before can all fool you by appearance alone. The finish test cuts through that guesswork fast.
One hidden spot is enough
Pick a back edge, underside, or inside corner where a test won't show. Use a white cloth, watch for residue transfer, and move on with the method that matches the result. That's the kind of small step that saves a whole Saturday.
If the test is unclear, assume the coating is tougher than you hoped. It's cheaper to slow down than to sand through good wood.
Cleaning Up After the Stripper the Right Way
The part most people underestimate isn't the stripping, it's the cleanup. Residue, varnish flakes, and sanding dust settle into every groove, and in South Florida humidity that mess stays tacky long enough to keep attracting more dust.
Don't over-sand detailed wood
There's a real contrarian lesson here, more sanding is not always better. On carved, textured, or reclaimed surfaces, a chemical stripper with plastic wrap and a soft brush often cuts cleanup in half because you're removing finish without grinding it deeper into the grain. That matters on old built-ins, decorative trim, and pieces with rounded profiles where a sander turns a detail into a flat spot.
Clean the room, not just the piece
A practical cleanup sequence starts with a HEPA-equipped shop vac, then a wipe with mineral spirits on a lint-free rag, then a tack cloth before any new finish goes on. After that, clean the area around the project too, because sand tracked in from the beach, AC vent dust, and tropical pollen on nearby window sills all end up right back on the wood if you ignore the room.
For low-odor upkeep around active households, the low VOC cleaning products page matches the same indoor air concerns people run into during refinishing projects.
The project feels finished when the floor under it, the vent above it, and the ledge beside it are all clean. Not when the last flake is scraped.
When to Call a Pro and How to Finish the Project Right
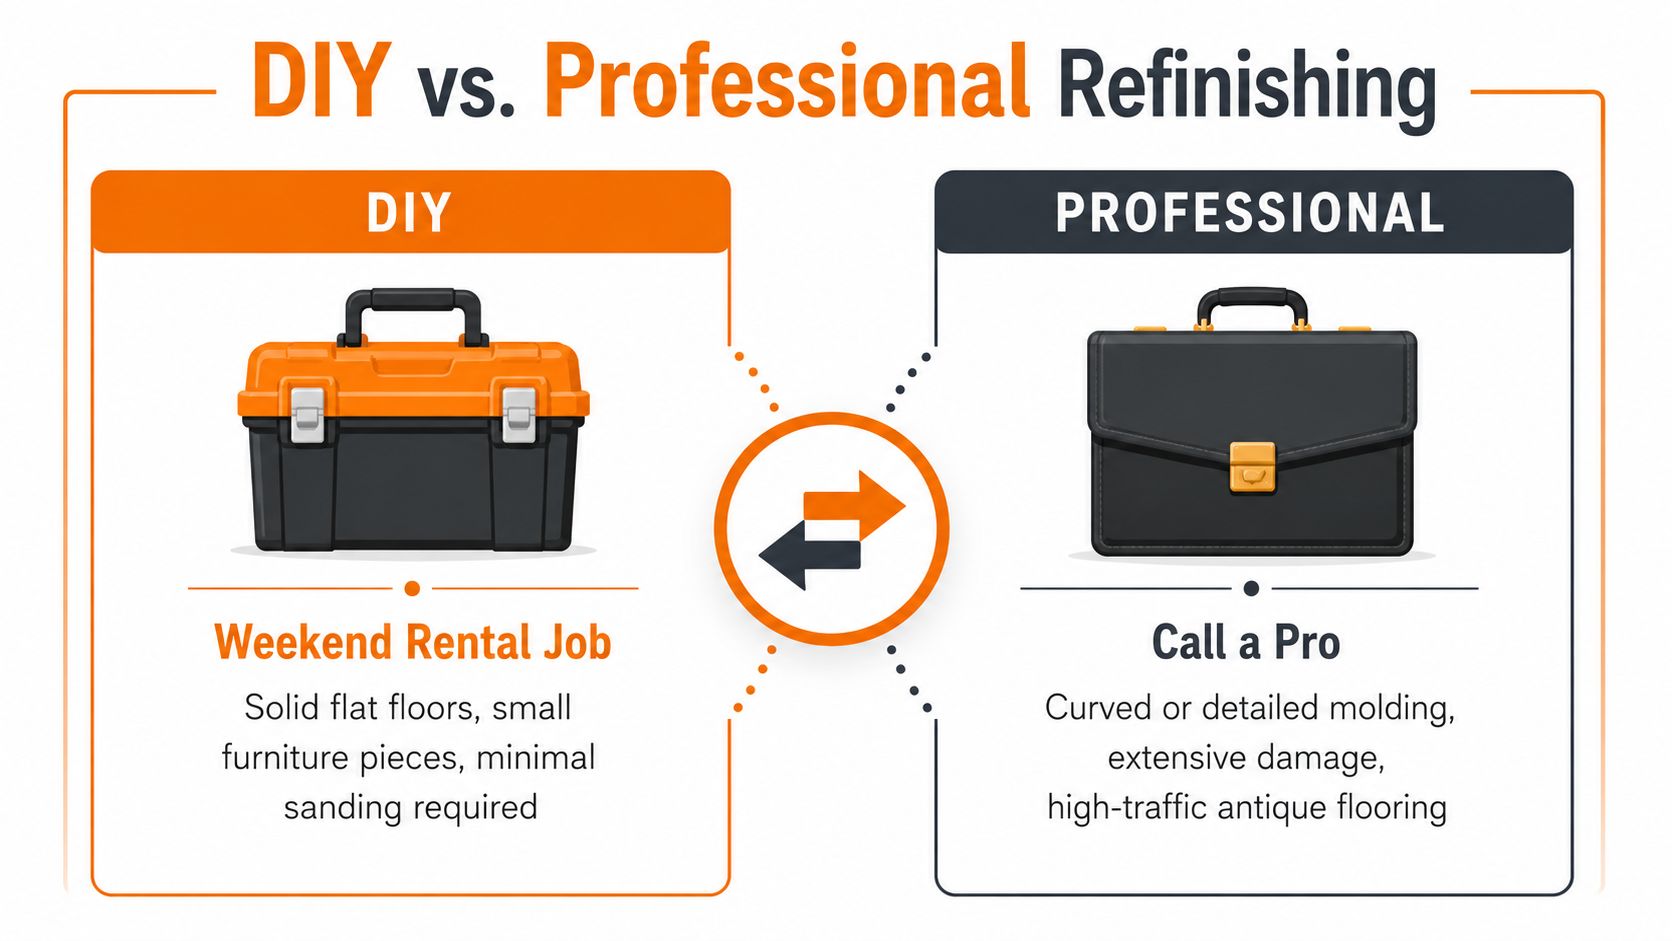
A solid flat floor, a small table, or a simple cabinet door can be a weekend rental job. Curved antique furniture, extensive damage, or marine varnish on a detailed surface is where a pro makes more sense. Anything in a pre-1978 home that may involve lead paint needs certified handling, not guesswork.
The final cleanup is what makes the work look done
After the wood is stripped or sanded, the surrounding room still needs attention. Fine dust clings to window sills, vents, baseboards, cabinet tops, and nearby fixtures, and it can show up again as soon as the AC cycles on. Floors need a final vacuum and mop after the last sanding pass, and kitchens and bathrooms need a reset if the house still has to be lived in that day.
That last stage is where a full home cleaning team fits naturally, especially when the project is part of a move-out, a guest turnover, or a remodel wrap-up. The wood may be ready for stain, but the house itself still needs to feel clean enough to use.
Book your cleaning with Sunset Shine Home Cleaning, your trusted house cleaning service in West Palm Beach. If you've just finished stripping varnish, sanding dust, or post-project residue, the team can help get the room back to clean, livable shape. Call 561-408-4020 or book online at Sunset Shine Home Cleaning.