
Wax on a tile floor, carpet, or sofa always feels urgent in a Palm Beach County home, especially when the AC is running, the humidity is high, and you've got a dinner party, guest arrival, or landlord walkthrough on the calendar. If you need how to clean spilled wax in West Palm Beach, the fix is usually patient, methodical, and surface-specific, not frantic.
Table of Contents
- Why Wax Spills Need a Patient Approach
- The Core Wax Removal Sequence That Works Everywhere
- Surface-Specific Techniques for Every Room in Your Home
- Common Wax Cleanup Mistakes That Make Stains Worse
- Prevention Tips and When to Call a Professional Cleaner
Why Wax Spills Need a Patient Approach
A candle tip-over in a West Palm Beach dining room usually happens fast. One second the table looks fine, and the next there's a puddle on tile, a drip on wood, or wax sinking into carpet near the baseboard.
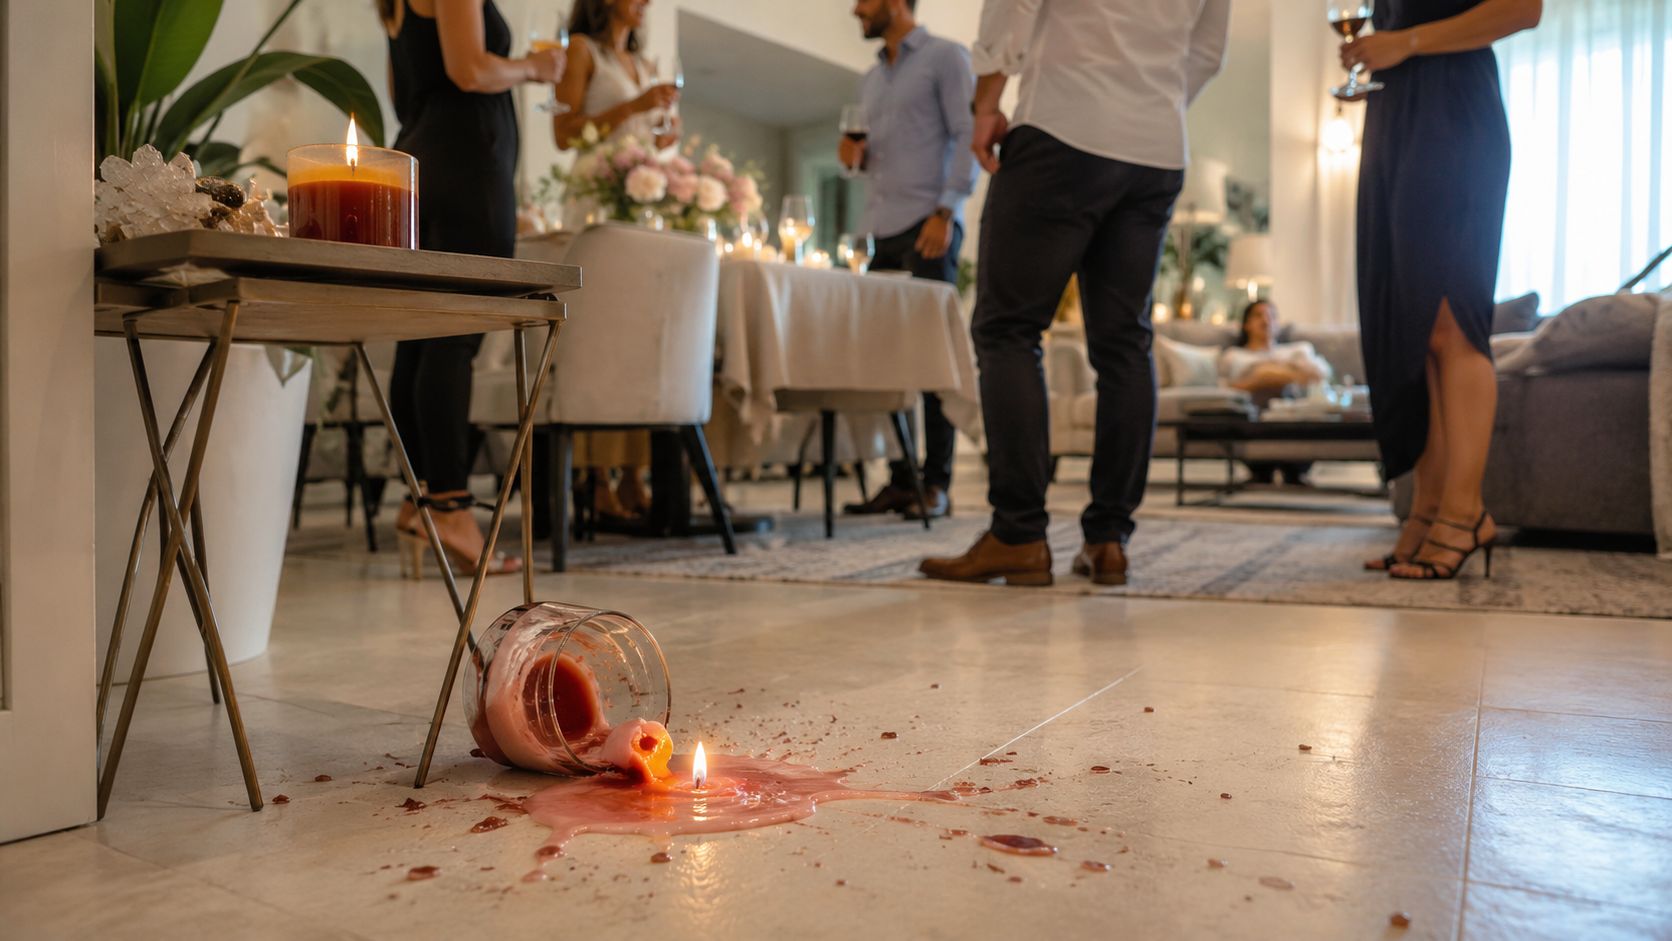
The first instinct is to wipe it. That's the move that makes the mess worse, because hot wax spreads deeper into fibers, grout lines, and grain before it ever sets up. The most dependable rule in how to clean spilled wax is simple, let the wax harden first, then remove it in stages, a sequence echoed in mainstream home-care guidance from Lowe's wall cleaning instructions.
Why the first minute matters
Hardening is the turning point. Once the wax cools, you can lift bulk wax without smearing it across a larger patch of tile, wood, or upholstery.
South Florida homes add one more wrinkle, humidity can make surfaces feel tacky longer, so don't rush the process just because the room is warm. In practice, I tell homeowners to cool the spill until it's clearly firm, then move to scraping only after it's no longer soft under the edge of a credit card or plastic scraper.
Practical rule: If the wax still bends or smears, it's not ready.
That patience saves finishes. It keeps wax from being pushed into the little gaps that collect dirt later, especially on textured tile, older grout, and wood with visible grain. It also matters in beach homes and rentals where sand and salt air already make residue harder to hide.
For a related cleanup problem that behaves the same way, see our guide to spilled coffee on carpet.
The Core Wax Removal Sequence That Works Everywhere
The basic workflow is the same across most household surfaces, cool, harden, scrape, transfer by heat. That order is what keeps the spill manageable instead of spreading it into a bigger cleanup job.
Step one, cool and harden
Use an ice pack or a bag of frozen peas, wrapped if needed so you don't soak the surface. Many guides use a short cooling window, and in practice the wait depends on the surface and how much wax spilled, but the goal is always the same, make the wax brittle enough to lift cleanly.
Once it's firm, use a butter knife, spoon, credit card, or plastic scraper. Keep the tool at a shallow angle and work gently. Sharp metal tools can gouge finished wood or delicate surfaces, and once you scratch the finish, wax residue gets trapped in those tiny marks.
Step two, transfer with heat
After the bulk is gone, place absorbent paper over the residue. Brown paper bags, coffee filters, or paper towels work well. Press with a low or medium-low iron without steam for a few seconds at a time, then move to a clean section when the paper picks up wax.
That repeat-and-swap process matters. One pass usually isn't enough, and a good cleanup is measured by transfer to the paper, not by how polished the wax spot looks halfway through.
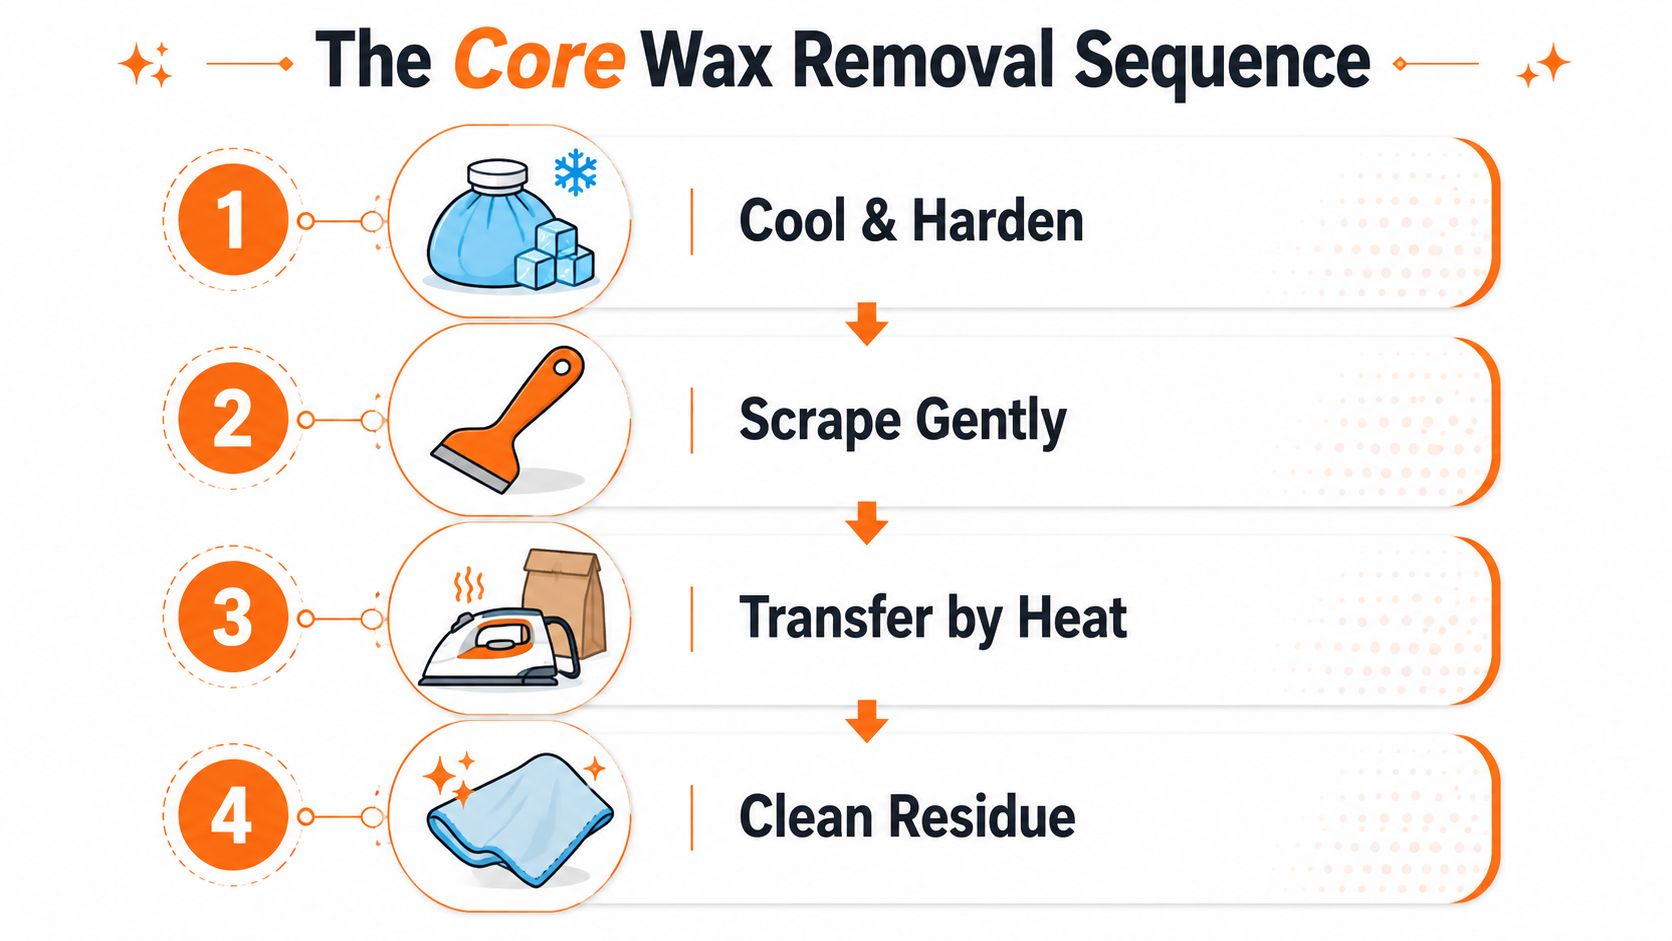
Step three, finish the film
Don't stop when the visible wax is gone. A thin greasy film often remains, and that film is what leaves a slick patch or attracts dirt later. A mild detergent or the surface-appropriate cleaner usually finishes the job after the wax itself has been lifted.
For clothing-specific extraction, Whirlpool's laundry guidance recommends heat-transfer cleanup, then soaking in about 2 cups of the hottest water safe for the fabric for at least 1 hour before washing on a heavy soil setting.
Surface-Specific Techniques for Every Room in Your Home
A spill on carpet is not the same as a spill on lanai concrete, and that's where a lot of DIY cleanup goes sideways. In Palm Beach County houses, I see wax on everything from coastal tile to rental upholstery, and the right move depends on what the wax touched.
Carpet, rugs, and upholstery
On carpet, freeze the spill first, then scrape the hardened wax from the tips of the fibers. If any color remains, heat-transfer with paper instead of rubbing, because rubbing drives residue deeper and can distort the pile.
For upholstery, go slower. Use heat-transfer extraction only after testing the fabric in a hidden spot, since colored wax and delicate upholstery can react badly to higher heat. For microfiber couches, a careful approach matters even more, which is why this microfiber couch cleaning guide pairs well with wax cleanup.
On fabric, the job is rarely done after the first blot. Keep replacing the paper or towel until it stops lifting wax.
Tile, hardwood, walls, and concrete
On hard floors, especially the tile common in South Florida homes, let the wax harden, then lift it without forcing the edge into grout lines. On finished wood, avoid sharp knives and aggressive scraping, because the scratch becomes a trap for residue and dust.
For walls and vertical surfaces, warm the area carefully and scrape with a thin plastic edge once the wax softens. Concrete needs extra patience because it can hold softened wax in pores. For lanai floors, garage entries, and similar rough surfaces, a simple scrape often isn't enough, and sometimes a poultice-style approach is the cleaner finish.
For stubborn concrete wax stains, one method uses a thick paste, plastic wrap, and a long drying period before rinsing. That slower method works because porous concrete needs time and absorption, not just a quick wipe.
Common Wax Cleanup Mistakes That Make Stains Worse
The biggest mistake is trying to win the cleanup in the first 10 seconds. Homeowners grab a paper towel and smear hot wax across a wider patch, then wonder why the stain looks bigger than the original spill.
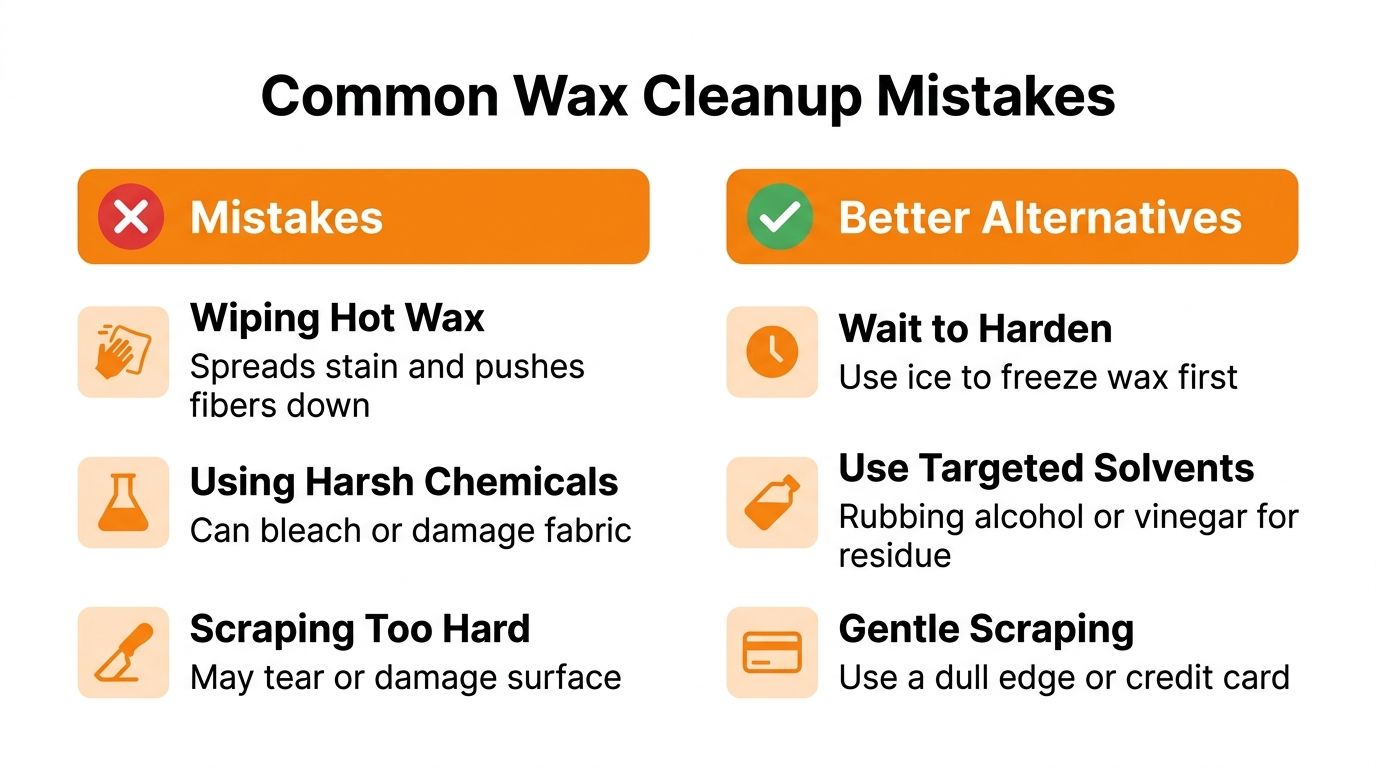
What backfires fastest
- Wiping hot wax: It spreads the spill and pushes it deeper into texture.
- Using sharp metal tools: It can scratch hardwood, tile finishes, and delicate upholstery frames.
- Using high heat on the wrong surface: Colored wax and sensitive fabrics can be damaged or discolored.
What works instead
- Wait to harden: Ice first, then scrape once the wax is firm.
- Use the right heat level: Low or medium-low is enough for transfer cleanup.
- Finish the residue: A surface-safe cleaner removes the greasy film that stays behind.
One more mistake shows up in rentals and Airbnb turnovers all the time. People stop after the wax looks gone, then miss the slick residue that catches dirt under humid conditions and makes the spot obvious again later. That's why the finish step matters just as much as the scraping step.
Prevention Tips and When to Call a Professional Cleaner
Place candles away from ceiling fans, open lanai doors, and drafty spots where a breeze can push melted wax. Use stable holders, keep them off crowded countertops, and don't burn them near fabrics, trim, or the edges of furniture.
For residue, stick with non-toxic degreasing cleaners that are safe around kids and pets and still strong enough to break down the oily film wax leaves behind. If you're doing move-out prep, use a professional deep cleaning checklist mindset, because landlords and guests usually notice the same places first, floors, bathrooms, kitchens, and baseboards.
Call a pro when the spill is large, has reached carpet padding, hit antique furniture, or landed in a unit that needs same-day turnaround. That's also the smart move after renovation work or when a final walkthrough is riding on spotless floors and clean edges.
If you want help with how to clean spilled wax in a Palm Beach County home, Sunset Shine Home Cleaning can take care of the mess with the right tools and eco-friendly supplies. Book your cleaning with Sunset Shine Home Cleaning, your trusted house cleaning service in West Palm Beach, or call 561-408-4020 today.